Our blog
The latest news from our team at Clever Dynamics

Want more layout options in Business Central? Customise your emails with Clever Document Delivery’s Document Styles.
Do you have different logos that you need placed on your documents for specific Customers and/or Vendors? Perhaps you have different document layouts for the different regions you deal with? If that’s the case, Document Styles within Clever Document Delivery is designed to help.
What is Clever Document Delivery?
Clever Document Delivery is a handy app for Microsoft Dynamics 365 Business Central that takes the hassle out of sending documents. With this tool, orders and invoices are dispatched automatically, complete with the correct layouts, attachments, and tailored email content – all driven by simple rules you set up. It streamlines your workflow, cuts down on mistakes and ensures your documents reach the right people, just how you want them.
How do I use document styles within Clever Document Delivery?
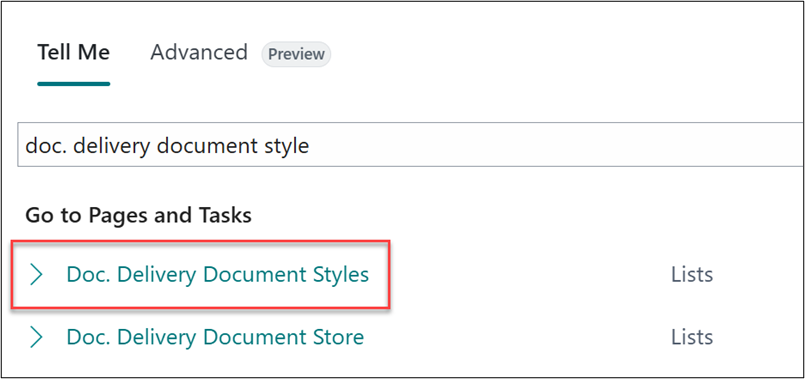
With Clever Document Delivery, you can use Document Styles to customise both email bodies and attachments for each document type. These formats can then be assigned to specific customers or vendors. In this example, I will be creating a Document Type and Style for Sales Order confirmations that are sent to Customers that have a Customer Posting Group of ‘Rest of World’. To begin, first navigate to the Doc. Delivery Document Styles Page.
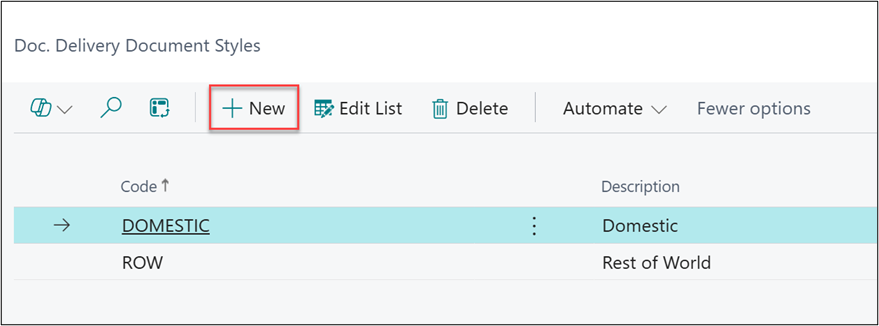
Next, select New and enter in a Code and Description for each of the Styles you’d like to use.
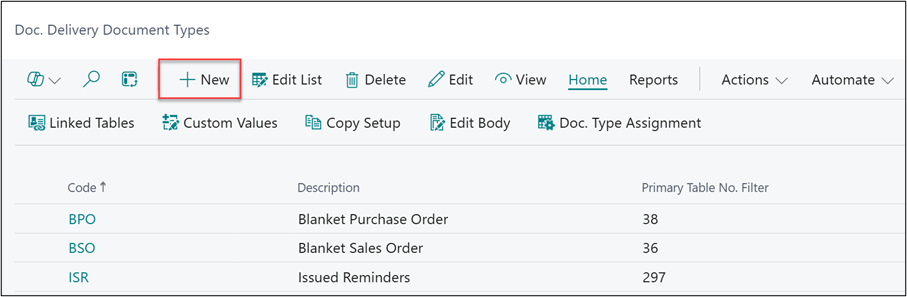
Each of the Document Styles will require their own Document Type. To create a new document type begin by selecting the New option within the Doc. Delivery Document Types list.
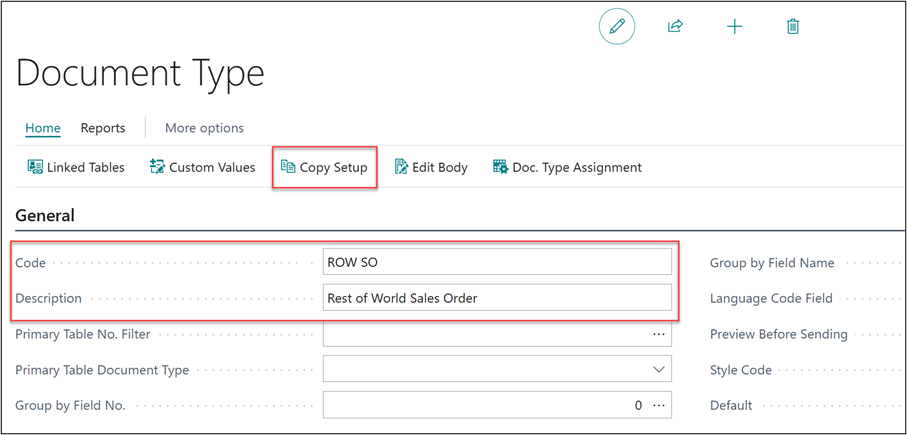
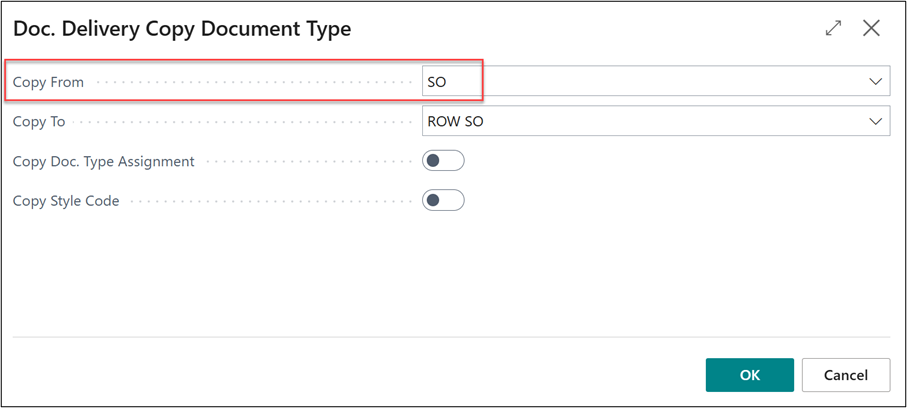
There’s no need to start from scratch for the setup, simply populate the Code and Description ideally making it clear what this Document Type will be used for. With that done, select Copy Setup.
Set the Copy From field to the Document Type from which you’d like to copy the setup across from. The Copy To field will already be populated with the Document Type we have just created, then select OK.
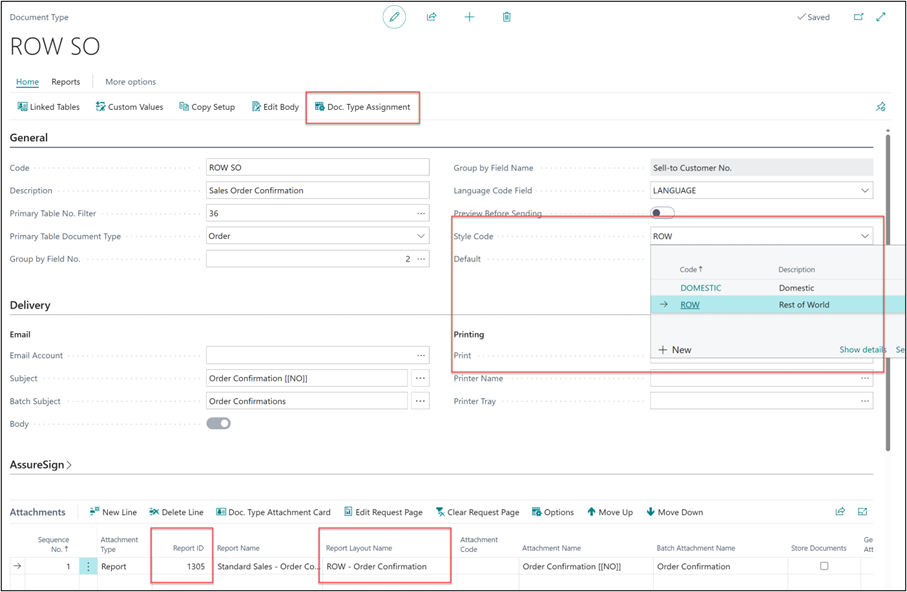
For the new Document Type, enter the Style Code created earlier to differentiate it from the other type linked to Sales Order Confirmation. Next, update the Report ID for the ‘Rest of World’ layout. Use the Doc. Type Assignment option on the ribbon to apply filters, ensuring only relevant Sales Orders are matched.
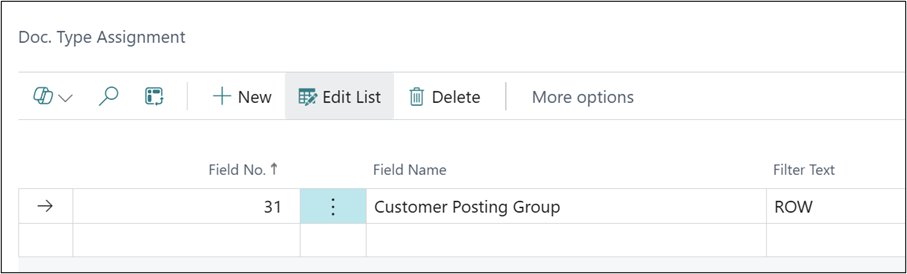
Within the Doc. Type Assignment, I have added a filter to only pick up Sales Orders that contain a Customer Posting Group of ROW.
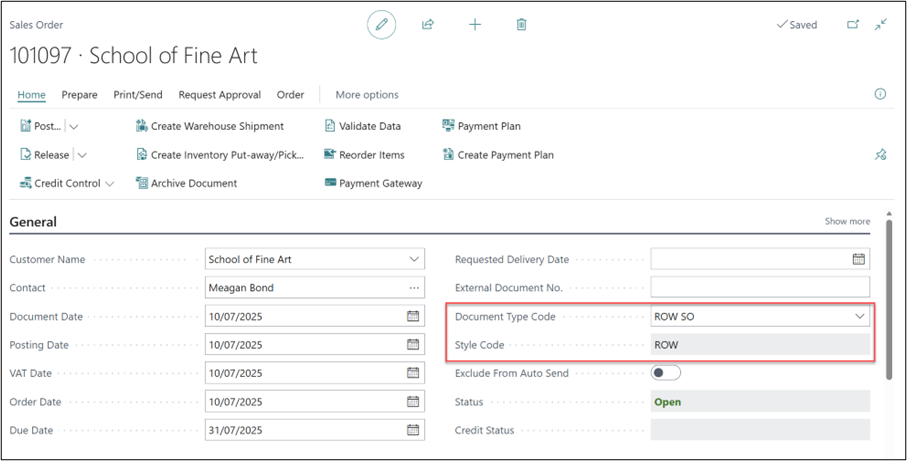
After setting up the Document Type and Style Code, let’s examine how these are applied to a Sales Order. I’ve created a new Sales Order for a Customer whose Posting Group is ROW. Once the Customer is entered in the Sales Order, the new Style Code and Document Type Code are assigned automatically.
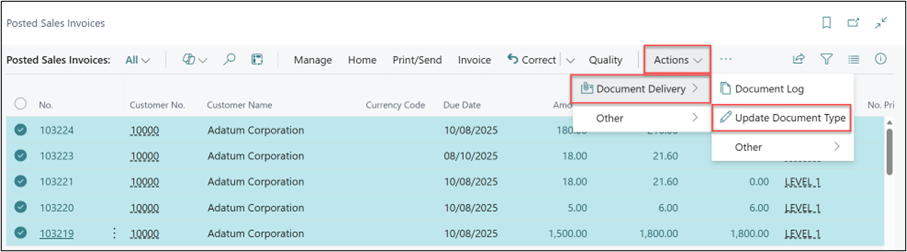
Please note that Document Styles are only automatically assigned to newly created documents. Should you wish to apply the Document Style retrospectively, first navigate to the document list, next highlight the documents you wish to update and finally select Actions > Document Delivery > Update Document Type.
Watch out for more tips like this on our Blog and if you have any questions for us, please get in touch.
COMPILED ON